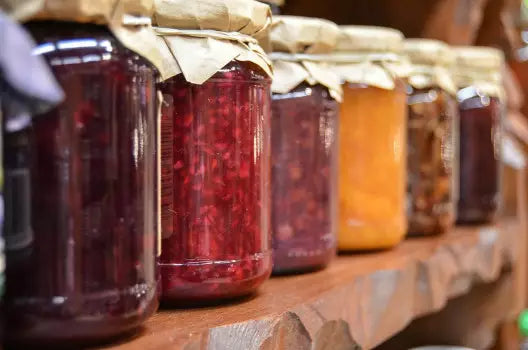
In every Italian family, despite the considerable and widespread presence of products of all kinds in supermarkets, we often tend to make preserver of various kinds: from jams to jams, passing through in a vinegar products (such as courgettes and aubergines), sauces and tomato sauce or cherry tomatoes. An ancient tradition that perpetuates to be able to always have vegetables and fruit available, even out of season, and be able to taste them when necessary and also appreciate in all their original goodness.
However, in order to safely keep and eat these products, a fundamental step before their preparation is needed: the sterilization of jars for preserves. In fact, this operation is important to avoid heavy negative health consequences, such as those deriving from botulinum or from food poisoning. To obtain the best possible result, from the point of view of maintaining taste and conservation, it is necessary to always use new caps and lids.
In fact, before proceeding with the realization of the preserves, in addition to the sterilization of jars, it is important to buy new lids and caps and not to use those used previously, although they can still be sterilized. All this for the purpose, also in this circumstance, to prevent the formation of bacteria or in any case substances harmful to human health.
Although for the temporary conservation of a few days of some foods (like leftovers of food, for example) you could use caps or lids already used previously, it is always good to sterilize them again. This procedure, however, can be carried out through different methodologies and above all means: in the oven, in the microwave, in the traditional pot and also in the dishwasher. It is important that the jars or bottles are of glass and suitable for Cooking at high temperatures. Let's see now how to sterilize the containers.
The sterilization carried out in the pot
There sterilization in the pot It represents a truly classic mode and among those most used over time. First of all, take a pot of the very large ones and with high edges and, subsequently, the various jars and jars are inserted, covering them entirely with cold water. At this point the fire is turned on under the pot and let it boil for about 20 minutes. However, around 10 minutes you can also insert new caps or lids.
After this time, it is possible to remove jars and caps and let themselves be dry, resting upside down, on a canvas, until they cool completely. However, once cooled, these must be used immediately. Recall that this method can also be used for sterilize full jars (with jams, jams or fruit juices). In fact, once the vacuum is created, they let them boil for about 20-30 minutes, immersing them entirely in the water.
Sterilization in the oven
This procedure, compared to the previous one, is much faster and simple to carry out. There sterilization in the oven First of all, it provides that the jars are washed well and they combine, as mentioned, new lids. Then the oven at 120 ° C (which represents the ideal temperature so that the jars do not break) and place these inside, even if necessary using a pan, but not making them touch with each other.
Keep in the oven for about 5 minutes and, once turned off, you let you cool for 20 minutes, inserting the lids. Also in this case, once dry, the jars must be immediately used and therefore filled. This mode allows a really quick sterilization than the traditional pot of the pot and, as we have seen, even much simpler in its execution.
Sterilization in the microwave
This procedure has spread following the recent advent of this type of oven. On the other hand, the sterilization in the microwave It is really quick and very practical, however it has the lack of not being able to use it also for the covers. These will be cleaned and sterilized aside, with another methodology. Anyway, take the jars to be sterilized And they fill with water (slightly less than half), then insert themselves into the microwave and turn on until the start of the boiling of the water in the jars.
Once you start this boiling, the oven turns off, using a presina or baking gloves empties the containers of water and let themselves cool on a cloth, placing them upside down. As soon as the jars have cooled, they must fill or use. Recall that to bring the water to the boil inside the jars you need very little time, at most about a minute.
Sterilization in the dishwasher
Like the one in the microwave, also the sterilization in the dishwasher It turns out to be a quick and simple procedure to perform. In practice, jars and lids in the appliance must be inserted (without however the presence of other dishes), selecting the program with the highest temperature. Once this is over, they take off the dishwasher and let themselves be dry, as usual, on a clean and upside -down cloth. After they have cooled properly, the containers can be used.
Some useful considerations
The final choice of a sterilization method instead of another depends on several factors, including the amount of bottles or jars to be sterilized. If the number is minimal, then the microwave could be the best solution. If, on the other hand, the containers were numerous, oven or pots represent the most appropriate means, especially if they are large. However, the dishwasher can also be another useful alternative, considering its size.
Recall that the jars and bottles must be immediately filled after sterilization, as during the time between this and the subsequent filling these containers could be contaminated again and thus make the disinfection procedure completely frustrated. Consequently, it is always recommended to sterilize and immediately fill the jars, perhaps keeping the content ready to be inserted inside the same.


