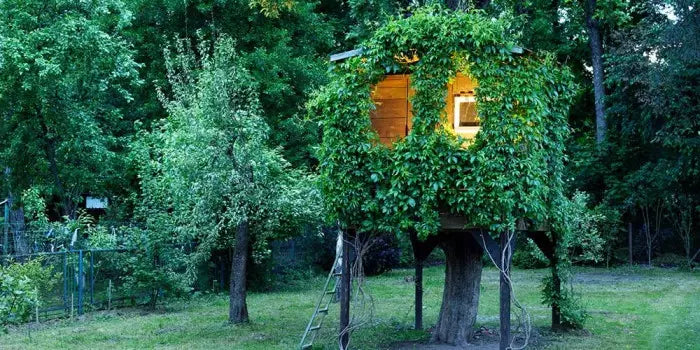
How many times have you happened to go to a shop of gardening And to see those pretty prefabricated houses? Surely, having one, it could be an excellent entertainment alternative, especially for those with children.
Buying one of those houses, only for recreational purposes, could be rather expensive, as the prices of these products also reach a thousand euros. Why not try to create one? In addition to saving on spending, which would be reduced to the purchase of the necessary materials, you can also have a good opportunity to involve your children in a fun but constructive family business.
It is absolutely not an impossible company, but it will not be even a walk, especially if you are not used to carrying out activities of this type. For this reason we want to help you with a short tutorial that will summarize the main steps.
Wooden houses
Certainly the idea of building a wooden house is the most tempting and most exciting. To start you can choose whether to buy wood or get it from the trees. In the second case we advise you to inform you about what are the best trees from which to take wood for this type of use.
The materials
Once the wood has been chosen, you need to get all the necessary tools: if you want to build a house of about 5 square meters and a maximum of 250 cm tall you will need: 35 wooden trails you have selected, size 5x5 cm, 3x15 cm beads, 20 Round -headed bolts, 2 4x4 cm beams, a 4x4 cm beam and 60 cm in height, twenty -eight corner, self -tapping nails and a pair of hinges. As for the tools instead: metro, row, turn, alternative saw, pencil, carpenter hammer, starter and saw.
The construction
Now that we have all the materials let's start the creation of our house. First we have the beams on the ground, in the shape of a quadrilateral, to create the floor. Once assembled, through the self -tapping nails we must join the frame, fixing it, for every corner of the quadrilateral through the angles.
Now fix the buffer table with other self -tapping screws and repeat this operation for each supporting structure, remembering to leave a passage for the entrance door to the front. You can delimit this space, which will be wide to your liking, through the 4x4 cm beams.
With the same procedure, make the roof and walls of your house that will be assembled to the floor, initially, also in a provisional way with self -tapping screws. In this way you will be easier to make holes among all the contiguous beams, which will subsequently serve to insert the panels, supported by passing bolts. To be clear, it will be appropriate to create three passing holes that will then be united through the bolts.
Once the bolts are fixed via slices inserted from both sides, you can remove the self -tapping screws, which had been inserted only for support during the drilling process.
Now is the time to fill the cracks that have formed on the roof and walls through panels, triangular in the first case and quadrangular in the second case. You can fix the panels with screws.
At this point you will have to make a bead frame that you have already prepared. This frame must then be fixed to the door door via the hinges.
Since the house will be in the garden under each type of unrehemousness, we advise you to keep the roof covered with a bitumen cloth that you can fix thanks to simple nails. Finally, pass an impregnation per outdoor over the entire surface of the structure.
Finally your house is ready, now to make it complete and personalized you can prepare the interiors in the way you prefer with tables for games, shelves and decorations. Or you could choose a theme and make it become for example, the house of Harry Potter or the Pirates of the Caribbean!


